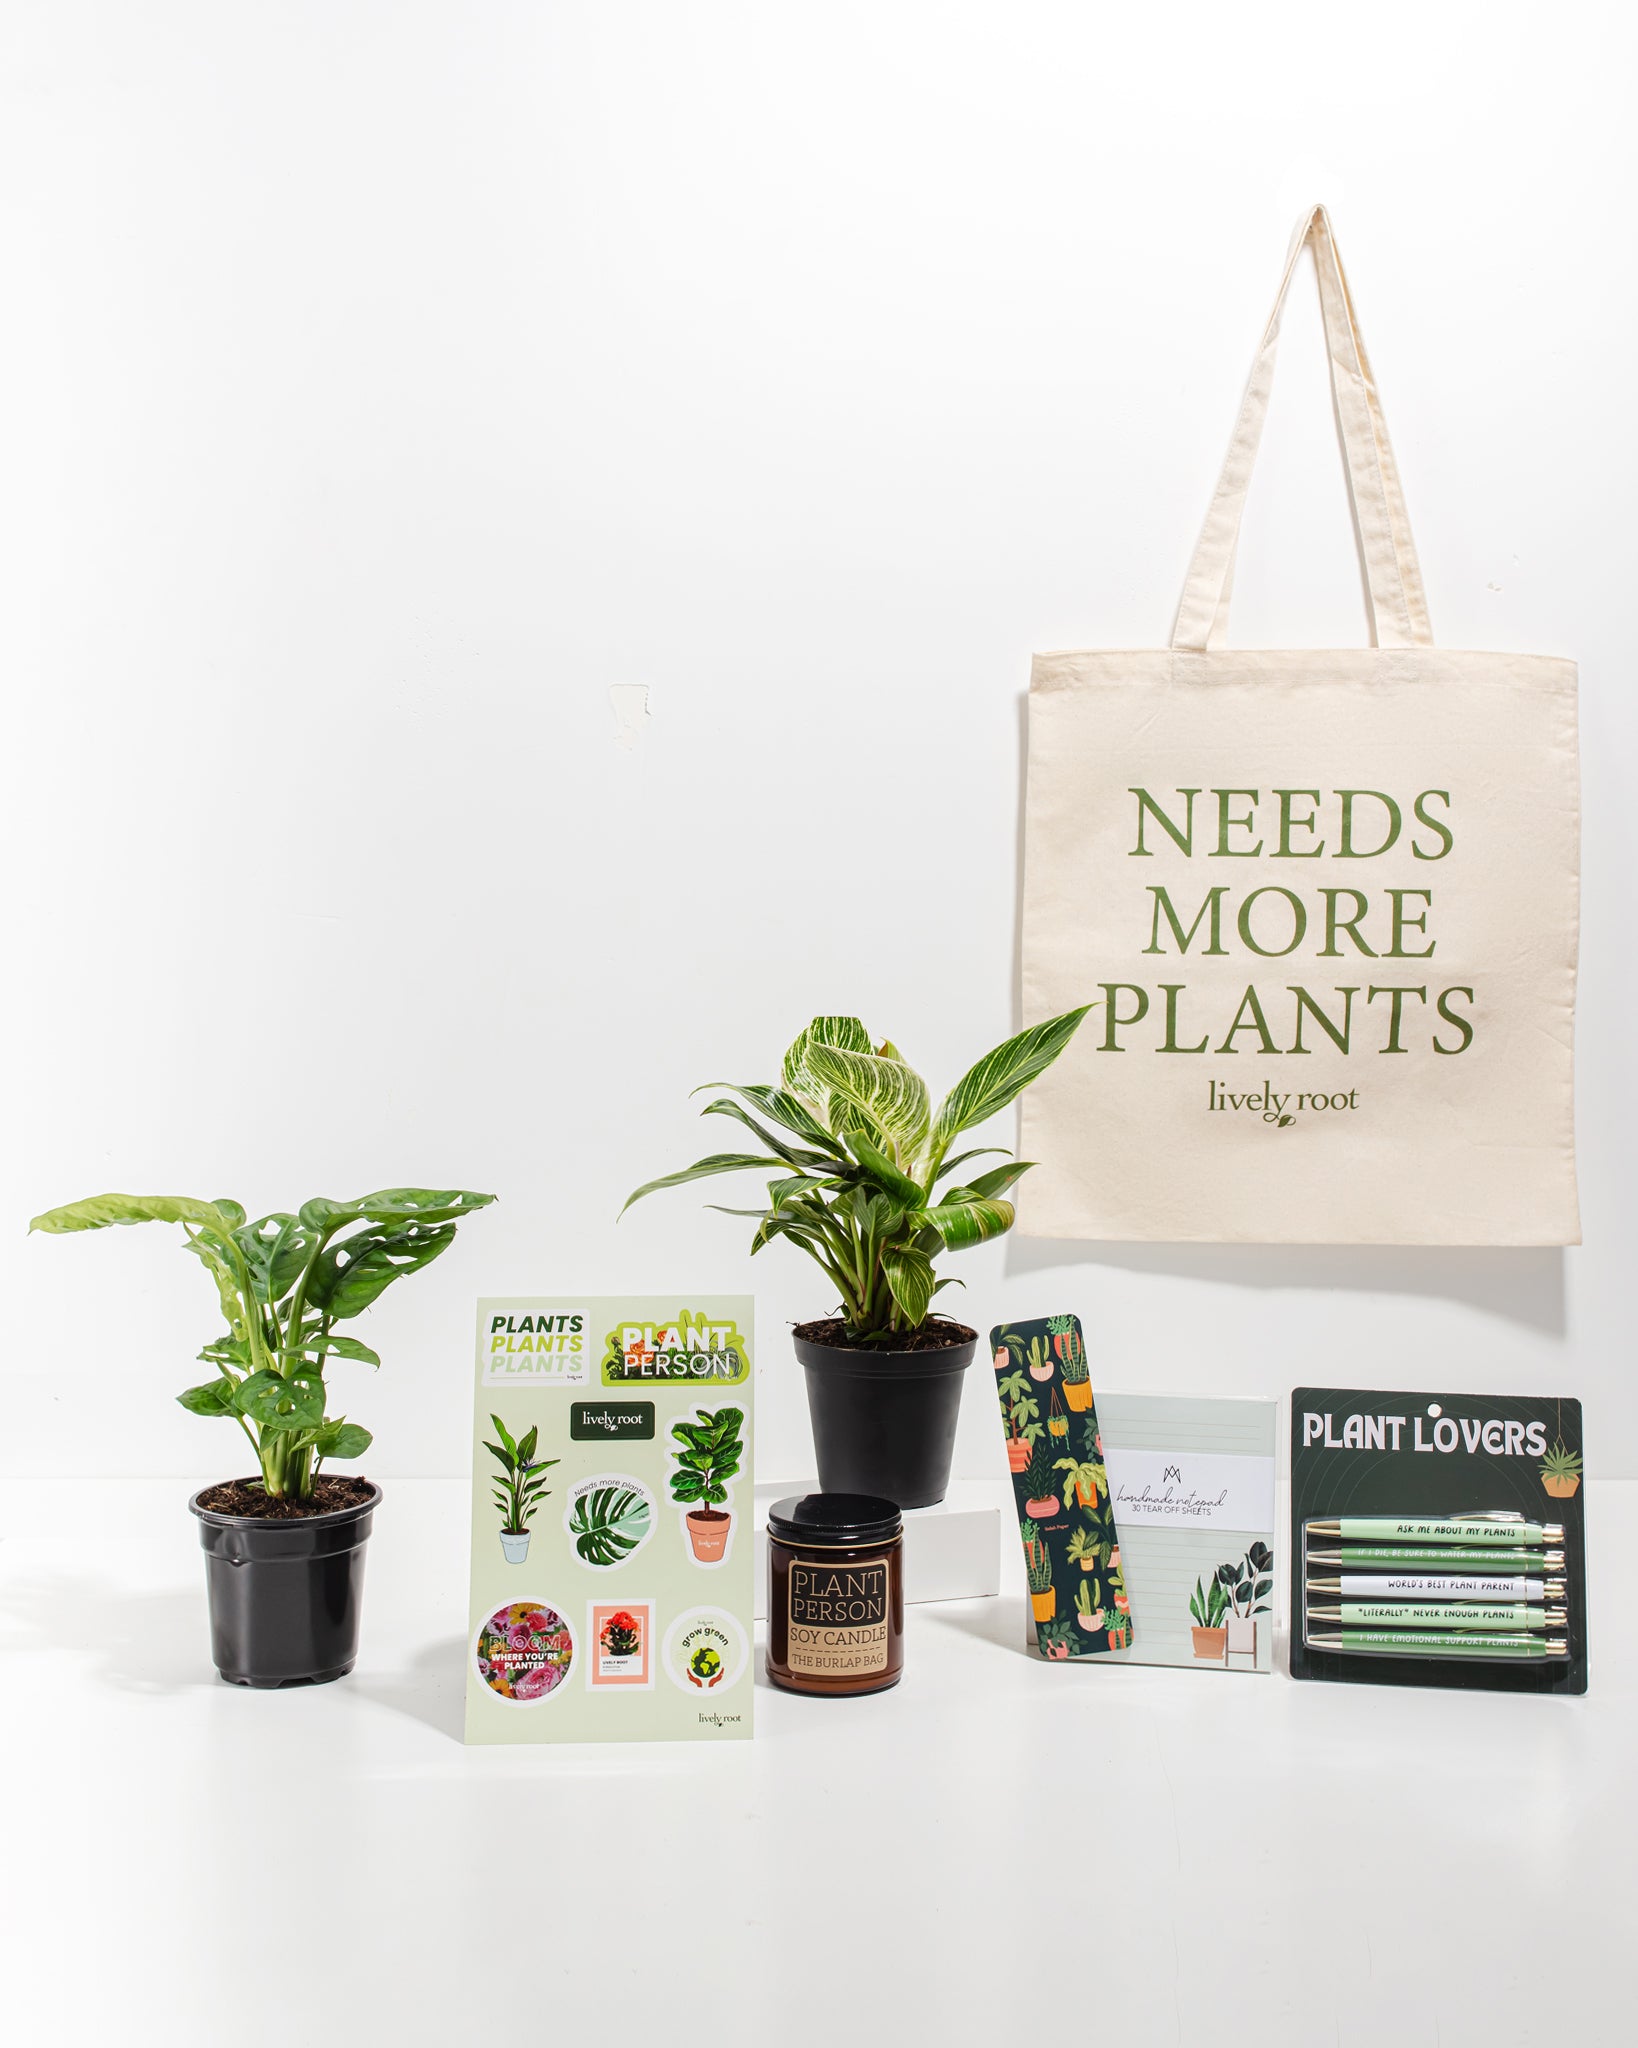
Welcome
You have points
Recently viewed
Wishlist
Sign in to access your favorites
Send your one of a kind student a one of a kind care package! These unique plants make the perfect study buddies. Never be too far away from your plant babies with these plant accessories. When you're on the go, take your stylish tote bag with you and let everyone know just what you're thinking!
Care Level: I'm Easy
Pet Friendly: Warning
The Philodendron Birkin and Swiss Cheese Monstera are considered toxic to pets.
Bright, indirect light is the best for this plant.
Use filtered, bottled, or tap water that's sat 24 hours to release the chemicals and water enough that the water discharges out of the drainage holes. Once the water is fully drained, place them back into the cache or decorative pot. Avoid overwatering as it can suffer from root rot. Add water when the top several inches of soil are dry.
High home humidity between 50-60% is best for this plant. Add a pebble tray or humidifier around it.
This plant doesn't tolerate cold temperatures. Avoid cold drafts near doors, windows and air vents.
When using outdoors, this plant can handle early morning sun in partial shade or dappled light. Shade them from direct, full sun or the leaves will burn and get crispy.
Fertilize twice a month by diluting a liquid fertilizer into the water while watering. Use half the recommended strength. Fertilize in the spring and summer months but let the plant rest in the fall and winter.
When receiving the Philodendron Birkin, do not repot immediately but wait at least 6-12 months or if the roots are beginning to get crowded and growing through the drainage holes. Repot in the spring, using a 2 inches bigger pot to keep the roots drier. (Too big of a planter could cause the soil to dry slower.) Place a piece of screening at the bottom of the container over the drainage hole to secure the soil and allow to drain. Use a well-draining indoor potting mix. A mix of 3 cups of potting soil, 2 cups of coconut coir, 4 cups of bark, 1 cup of perlite, and 1/4 cup of horticultural charcoal is perfect for this aroid. Water your plant in the old pot before transferring over and let sit for an hour. Add soil to the bottom to elevate the root ball. Lift the plant and release the roots against the existing planter. Use a clean knife or garden trowel to wedge between the pot and the soil to loosen. Inspect the root ball. Notice if there are any dead or rotting roots and trim them off with sterile pruners. Ensure the plant is sitting about 1 inch below the edge of the pot to avoid water spillage. Add more soil and backfill around the sides by tamping down. Fill up to the soil line but not over. Water thoroughly, leaving the soil damp but not soggy. If settling occurs, add more mix. Let the plant drain in the grower pot before setting them into a cachet pot without drainage.
To clean the leaves and alleviate dust particles, shower the Philodendron Birkin from above. Fill a watering can with filtered, distilled, or tap water sitting for 24 hours. Place the plant in a sink and lightly wash the leaves with a shower spray end watering can. Trim off any brown leaves with sterile scissors and remove any debris from the soil. Replenish soil if needed. Inspect for any insects at this time.
To propagate this Philodendron Birkin plant, take a stem cutting in the early spring. Remove the bottom leaves up 2-3 inches to expose the stem. Place the stem in a glass jar and fill with filtered water and watch the roots grow! Replace and freshen the water each week. After the roots are several months old, add to moistened potting soil, continue to water, and place them medium to bright light.
Indoors: Bright, indirect light in a southern, eastern exposure. Outdoors: Bright, indirect sunlight on a covered sunlite covered porch. Bring in when temperatures are below 55°F at night.
Water when the soil is dry on your moisture meter. Check the moisture each week in the summer and every two weeks in the winter. Use filtered, bottled, or tap water sitting 24 hours to release the chemicals. Take the plant out of your decorative container and water enough that the water discharges out of the drainage holes. Once the water is fully drained, replace them into the cache or decorative pot. Water consistently and rotate your plant one quarter turn each time you water for consistent sunlight exposure.
Keep medium to high humidity around this plant on average at 50%. Add a gravel tray, or use a humidifier or group with other plants. Spritz daily. Use filtered water to prevent hard water spots on the leaves.
Average comfortable room temperatures will be sufficient. These plants do not like cold temperatures under 55°F.
This plant can thrive outside in a brightly covered area out of direct sunlight getting 6-8 hours where temperatures are above 55°F at night.
Add a balanced liquid fertilizer once a month when watering during the growing season between spring and fall. Give them a rest during the winter months while they are in dormancy.
When receiving the plant, do not repot immediately but wait at least 6-12 months. When the plant is ready to repot (late spring, summer, or early fall), plant in a 2" bigger container in diameter and slightly deeper than the existing container. Hydrate your plant a couple of days before transplanting. Use an indoor container mix that is well-draining and amended with coco fiber, perlite, orchid bark, and worm castings. Add soil to the bottom to elevate the root ball. Tenderly lift the plant and release the roots against the existing planter. Use a clean knife or garden trowel to wedge between the pot and the soil to loosen. Inspect the root ball. Notice if there are any dead or rotting roots and trim them off with sterile pruners. If the plant was rootbound, cut through the roots to alleviate continued encircling. Set the plant towards the front of the pot to fit a trellis or moss pole for climbing towards the backside. Ensure the plant is sitting about 1" below the edge of the pot to avoid water spillage. Add more soil and backfill around the sides by tamping down. Do not cover the current level of soil on the plant but add soil up to this level. Secure the trellis or moss pole at the same time unless you are growing it as a trailing vine in a hanging pot. Attach the vine to the pole or trellis with loose twine or weave the branches around the trellis so its aerial roots will grab ahold. Water thoroughly, leaving the soil damp but not soggy. Add more soil after watering if the soil settles.
Suppose your indoor plant has gotten too leggy or long and losing some of their bushiness on top; early on, start tip pruning to keep them lush. Use the cuttings for propagation.
To clean the leaves, either take your plant to a tub or shower and shower the leaves with filtered water from a handheld watering can or spray down the leaves with a spritz bottle. Clean the soil of any debris and replenish them with fresh soil if depleted.
To propogate, find the node with an aerial root and cut below this node making sure at least one leaf is attached. Dip the bottom end into rooting hormone and prepare the damp potting mix as if you were repotting. Sink the end down into the soil about a half inch. Keep the soil moisture consistent for 4-6 weeks until the roots establish. Keep the cutting in a bright, indirect, humid area.
You can also take the propagation and place the node with leaf into filtered water and let them root this way. Once the roots grow about 1 inch long, transplant them into rich, damp potting mix amended with coco fiber, perlite, orchid bark and worm castings.
Follow us @livelyroot & show us your #livelyroot plants
Get access to your rewards, referrals, and more