Customize Your Pot
Please Note: Size & position of custom text may vary slightly. Please allow an additional 1-2 days for processing your order.

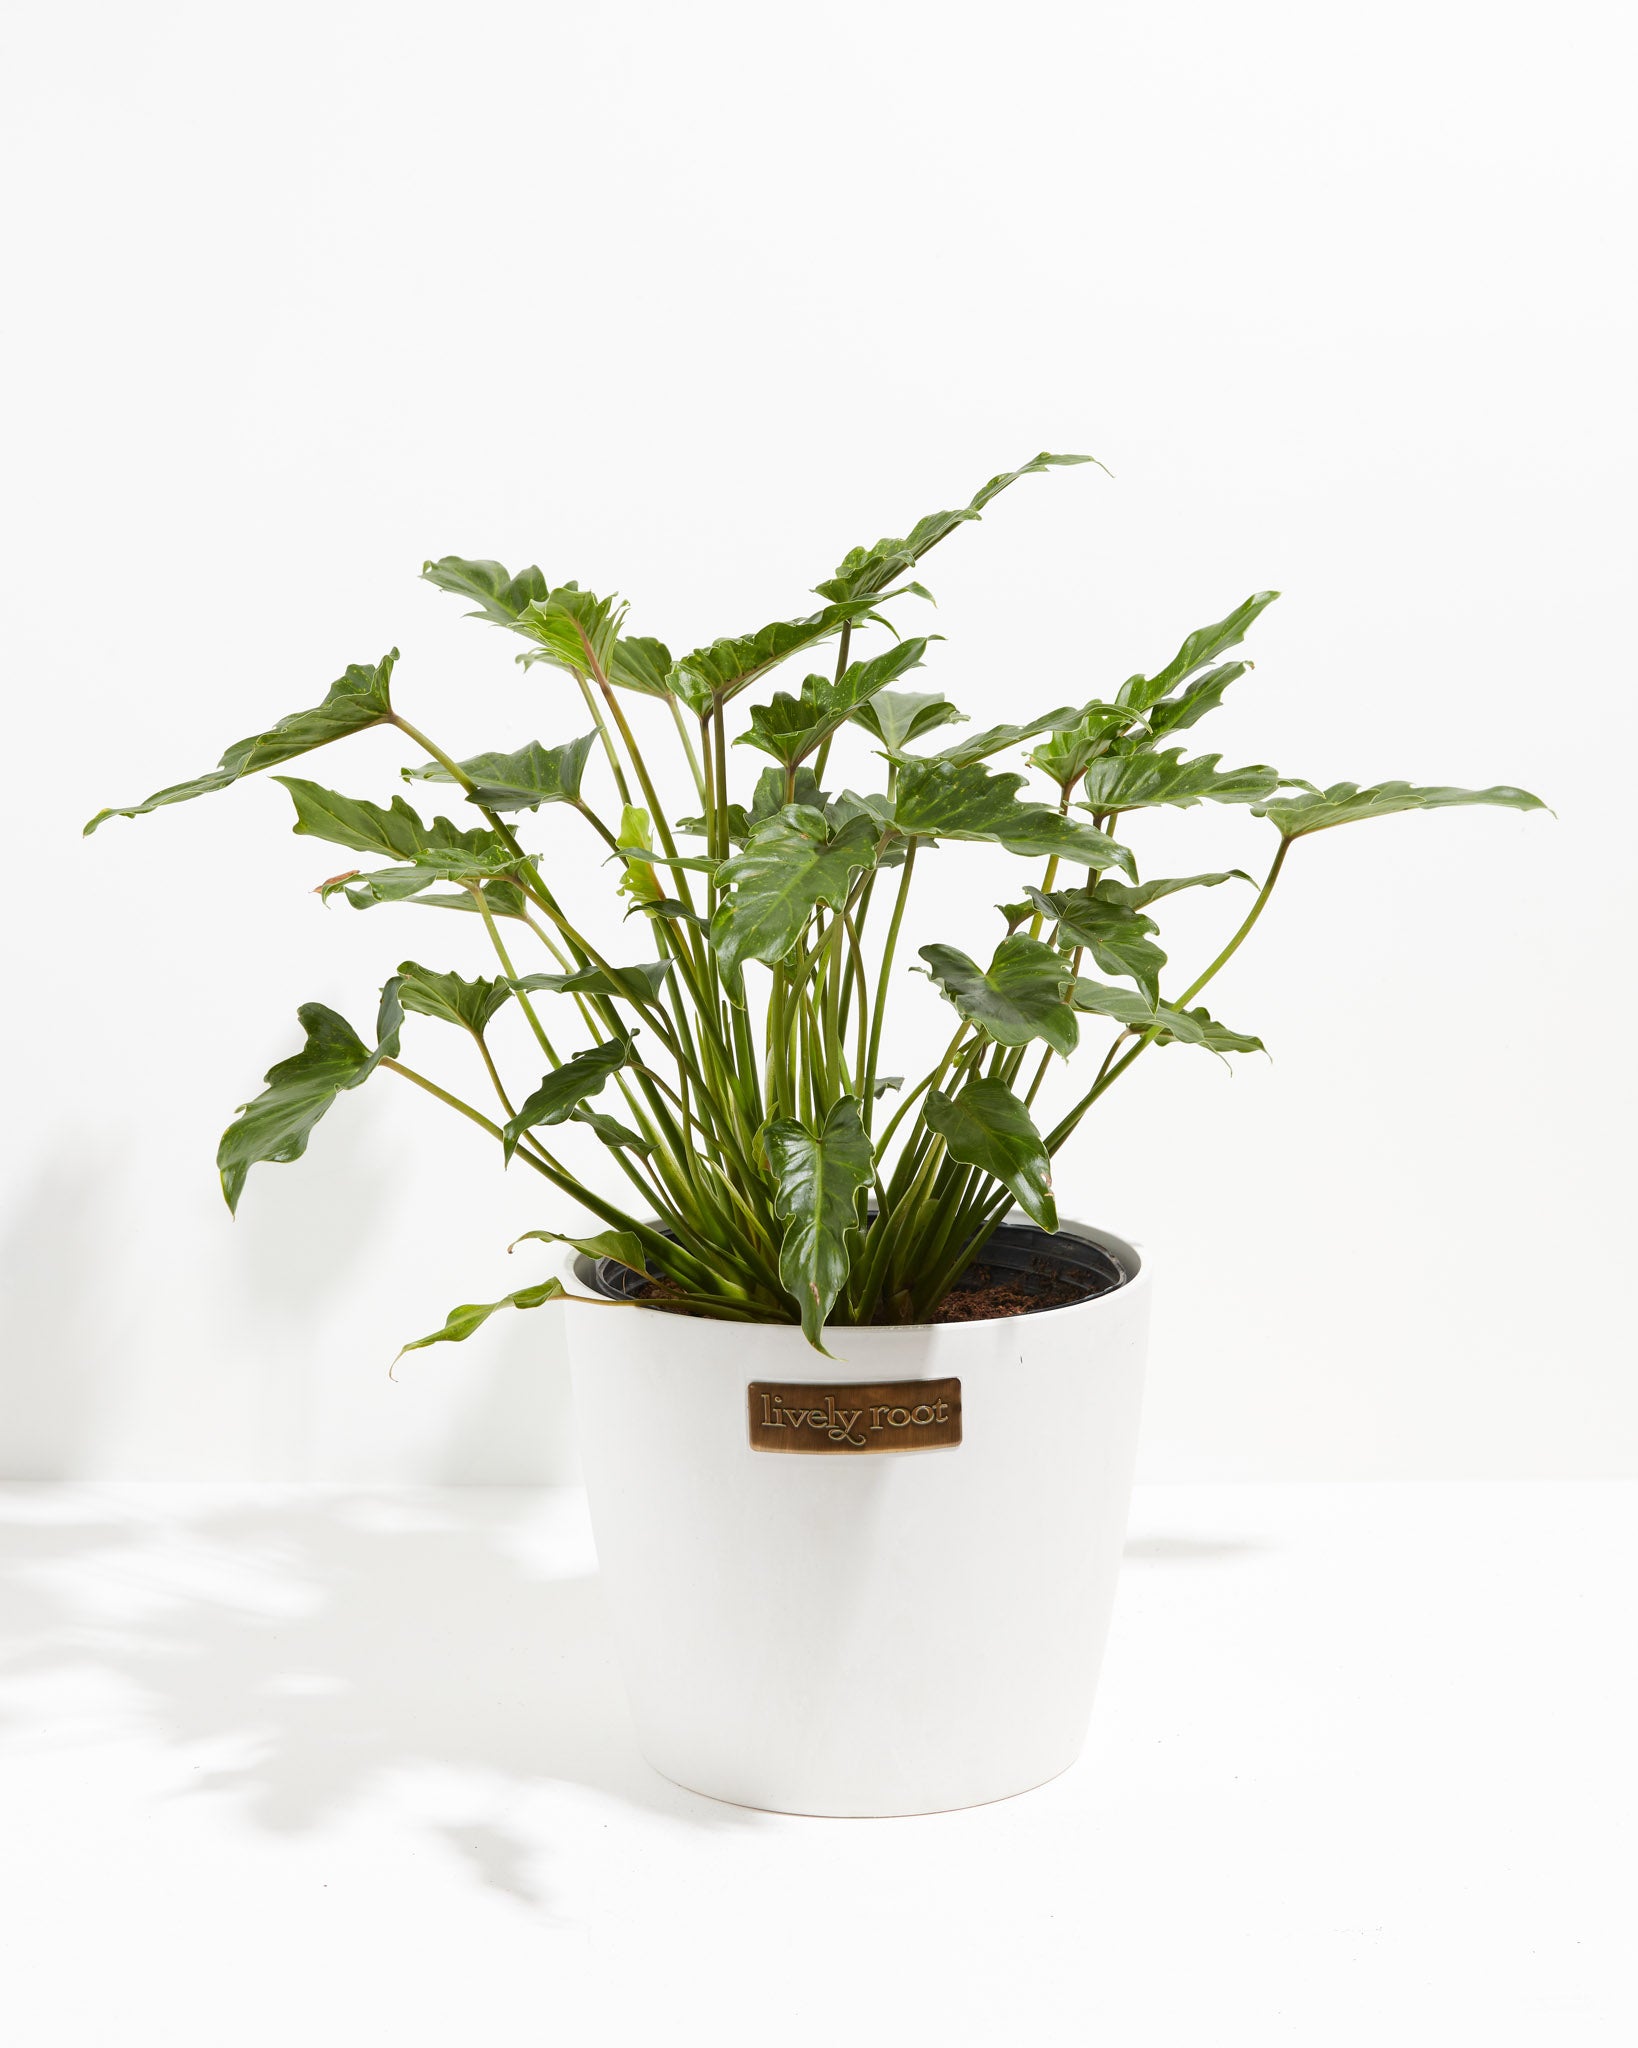
This plant can tolerate medium light. Bright light may burn their leaves.
Use unsoftened, filtered, bottled, or tap water sitting 24 hours to release the chemicals and water enough that the water discharges out of the drainage holes. Once the water is fully drained, replace them into the cache or decorative pot. Replenish the soil moisture when it falls below 5 on the plant meter. Keep them consistently moist during the growing season (but not soggy) and let dry out to a 3 on the moisture meter in winter months when they are dormant. If yellowing leaves occur, back off on the watering and let the soil dry out a bit more between waterings.
Xanadu needs humidity at a rate of 40-60%. Use a pebble tray, humidifier and group plants together to raise the humidity levels.
This tropical plant loves warm climates and moderate humidity.
This plant will not tolerate frost or temperatures below 50°F if left outside.
Fertilize biweekly during their growing period with a high nitrogen liquid fertilizer and a time release granular soil fertilizer. Reduce during the fall and winter months while the plant is in their dormant phase.
When receiving the plant, do not repot immediately but wait at least 6-8 months or if the roots are beginning to get crowded and growing through the drainage holes. Repot in the spring, using a 2" bigger pot. (Too big of a pot could cause the soil to dry slower, which is not helpful.) Use a rich potting mix indoor potting soil mixed with coconut coir and perlite to help with drainage. Water your plant in the old pot before transferring over and let sit overnight. Place a piece of screening at the bottom of the container over the drainage hole to secure the soil and allow to drain. Add soil to the bottom to elevate the roots. Lift the plant and release the roots against the existing planter. Use a clean knife or garden trowel to wedge between the pot and the soil to loosen. Inspect the roots. Notice if there are any dead or rot and trim off with sterile pruners. If the plant is rootbound, separate the roots and divide if you wish to make more plants. If not, remove any weak leaves off the plant to help revitalize their energy. Ensure the plant is sitting about 1" below the edge of the pot to avoid water spillage. Add more soil and backfill around the sides by tamping down. Fill up to the soil line but not over. Water thoroughly, leaving the soil damp but not soggy. If settling occurs, add more soil.
To clean the leaves and alleviate dust particles: Shower from above. Fill a watering-can with filtered, distilled, or tap water that has been sitting for 24 hours and is free of chemicals (chlorine or fluoride). Place the plant in a sink and lightly wash the leaves with a shower spray end watering can. Trim off any yellow leaves with sterile scissors to the base. Remove any debris from the soil and replenish soil if needed. Inspect for any insects at this time.
Propagate and divide your Xanadu plant in the early spring. (They should not be propagated for sale. Only for your collection since this plant is patented.) Hydrate the plant the night before. Pull from the container and brush or wash away the soil carefully around the roots. Carefully divide and repot in rich, indoor potting soil mixed with coconut coir and perlite, aware that each new plant needs at least two or more leaves with sufficient roots attached. Use a container 2 inches bigger than the root ball with drainage and deep enough for their roots to grow. Place the plant at the same level as the previous pot adding soil at the bottom. Water the soil and add more soil if settling occurs. Set them in medium to low, indirect sunlight while they are rooting. Check the moisture and humidity each day and add misting to keep the soil moist while the roots establish. After 6-8 weeks, roots will begin to establish. You can tug onto the stem to ensure the roots are anchoring well.