


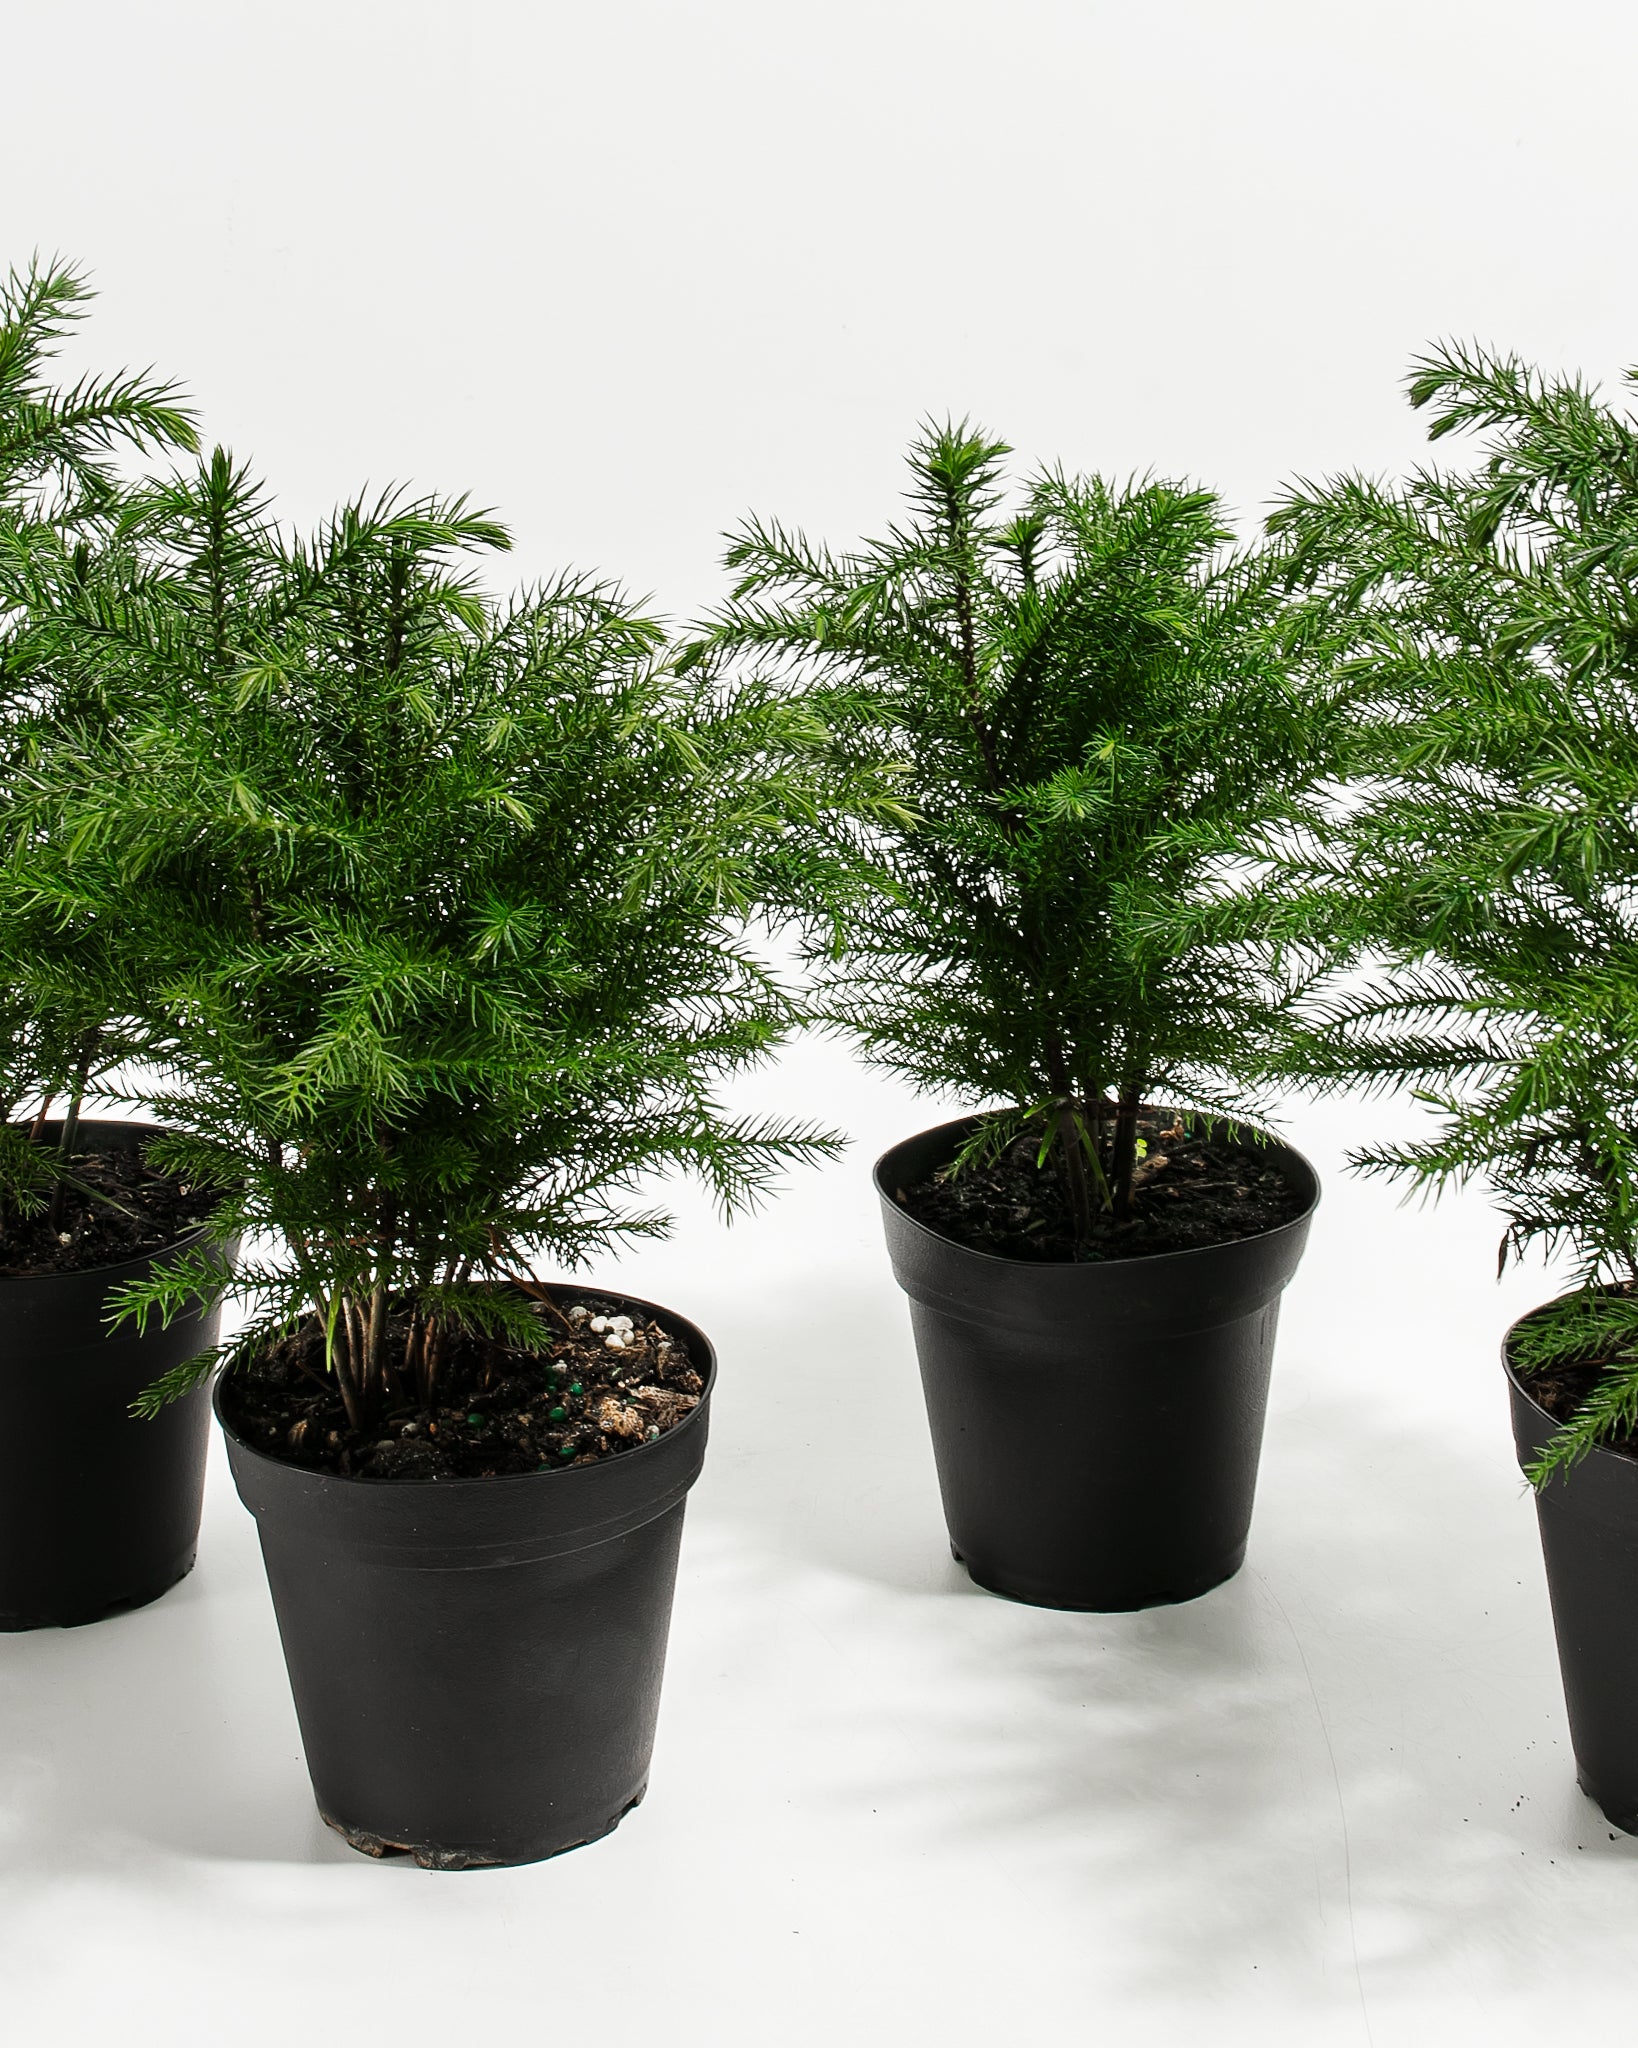


These adorable trees make for the ultimate stocking stuffers or holiday table decor this year! Our Norfolk Pines (Araucaria heterophylla) are a party waiting to happen! Their upright trunk sits straight with his pyramidal shape. His evergreen form holds whorled, parallel branches (typically 5 branches per whorl) in layers. He will do double-duty for the sights of the season as well as a great houseplant throughout the year growing up to 3-5' over time!

Rotate your Norfolk plant in front of a bright, direct light window for all sides to get enough light for photosynthesis.
Keep consistently moist during the spring and summer. Let the soil dry a bit more in the winter months but still stay consistently lightly moist. If the needles turn yellow and drop, check the soil's moisture and humidity levels.
Your Norfolk pine will need an average of 50% humidity to keep him comfortable.
Keep this plant in cooler temperatures with lots of moisture in the air to imitate their natural environment.
This little guy doesn't like to get his toes or needles cold. Bring him in when temps are hitting 50°F or below.
Apply a balanced fertilizer at half-strength every other month in the growing season.
When receiving the Norfolk Pine, do not repot immediately but wait at least 6-12 months or if the roots are beginning to get crowded and growing through the drainage holes. Repot this little guy in the spring, using a 2 inches bigger pot to keep the roots drier. (Too big of a planter could cause the soil to dry slower.) Place a piece of screening at the bottom of the container over the drainage hole to secure the soil and allow to drain. Fill in around your container and the bottom with equal parts of sterilized potting soil, coconut coir, and sand or perlite, with one tablespoon of bone meal to encourage root growth. Water your plant in the old pot before transferring over and let sit overnight. Add well-draining interior potting soil to the bottom to elevate the root ball. Lift the plant and release the roots against the existing planter. Use a clean knife or garden trowel to wedge between the pot and the soil to loosen. Inspect the root ball. Notice if there are any dead or rotting roots and trim them off with sterile pruners. Ensure the plant is sitting about 1 inch below the edge of the pot to avoid water spillage. Add more soil and backfill around the sides by tamping down. Fill up to the soil line but not over. Do not water again until the soil is registering three on the plant meter. If soil settling occurs after watering, add more periodically but do not cover the trunk above the surface.
Remove any dead, damaged, or diseased limbs, but this little guy is low maintenance and usually won't need any pruning.
In early autumn, collect the cones that fall from this little guy. Break apart the cone and gather the seeds, and plant quickly. Use equal parts of loam, sand, and coco coir. Plant the pointed end down at a 45° angle with a bit of the rounded end visible above the soil. Keep the soil consistently damp and sit and watch. Please keet in bright, indirect light. Viable seeds should sprout within two weeks. As they grow, continue to rotate your planter (with drainage) to get the benefits of light from all sides.

