Have you ever wanted your own #plantjungle? Dream of having plants above and below you, completely surrounding you in a botanical hug at home? Do you want your living room to be a green oasis?
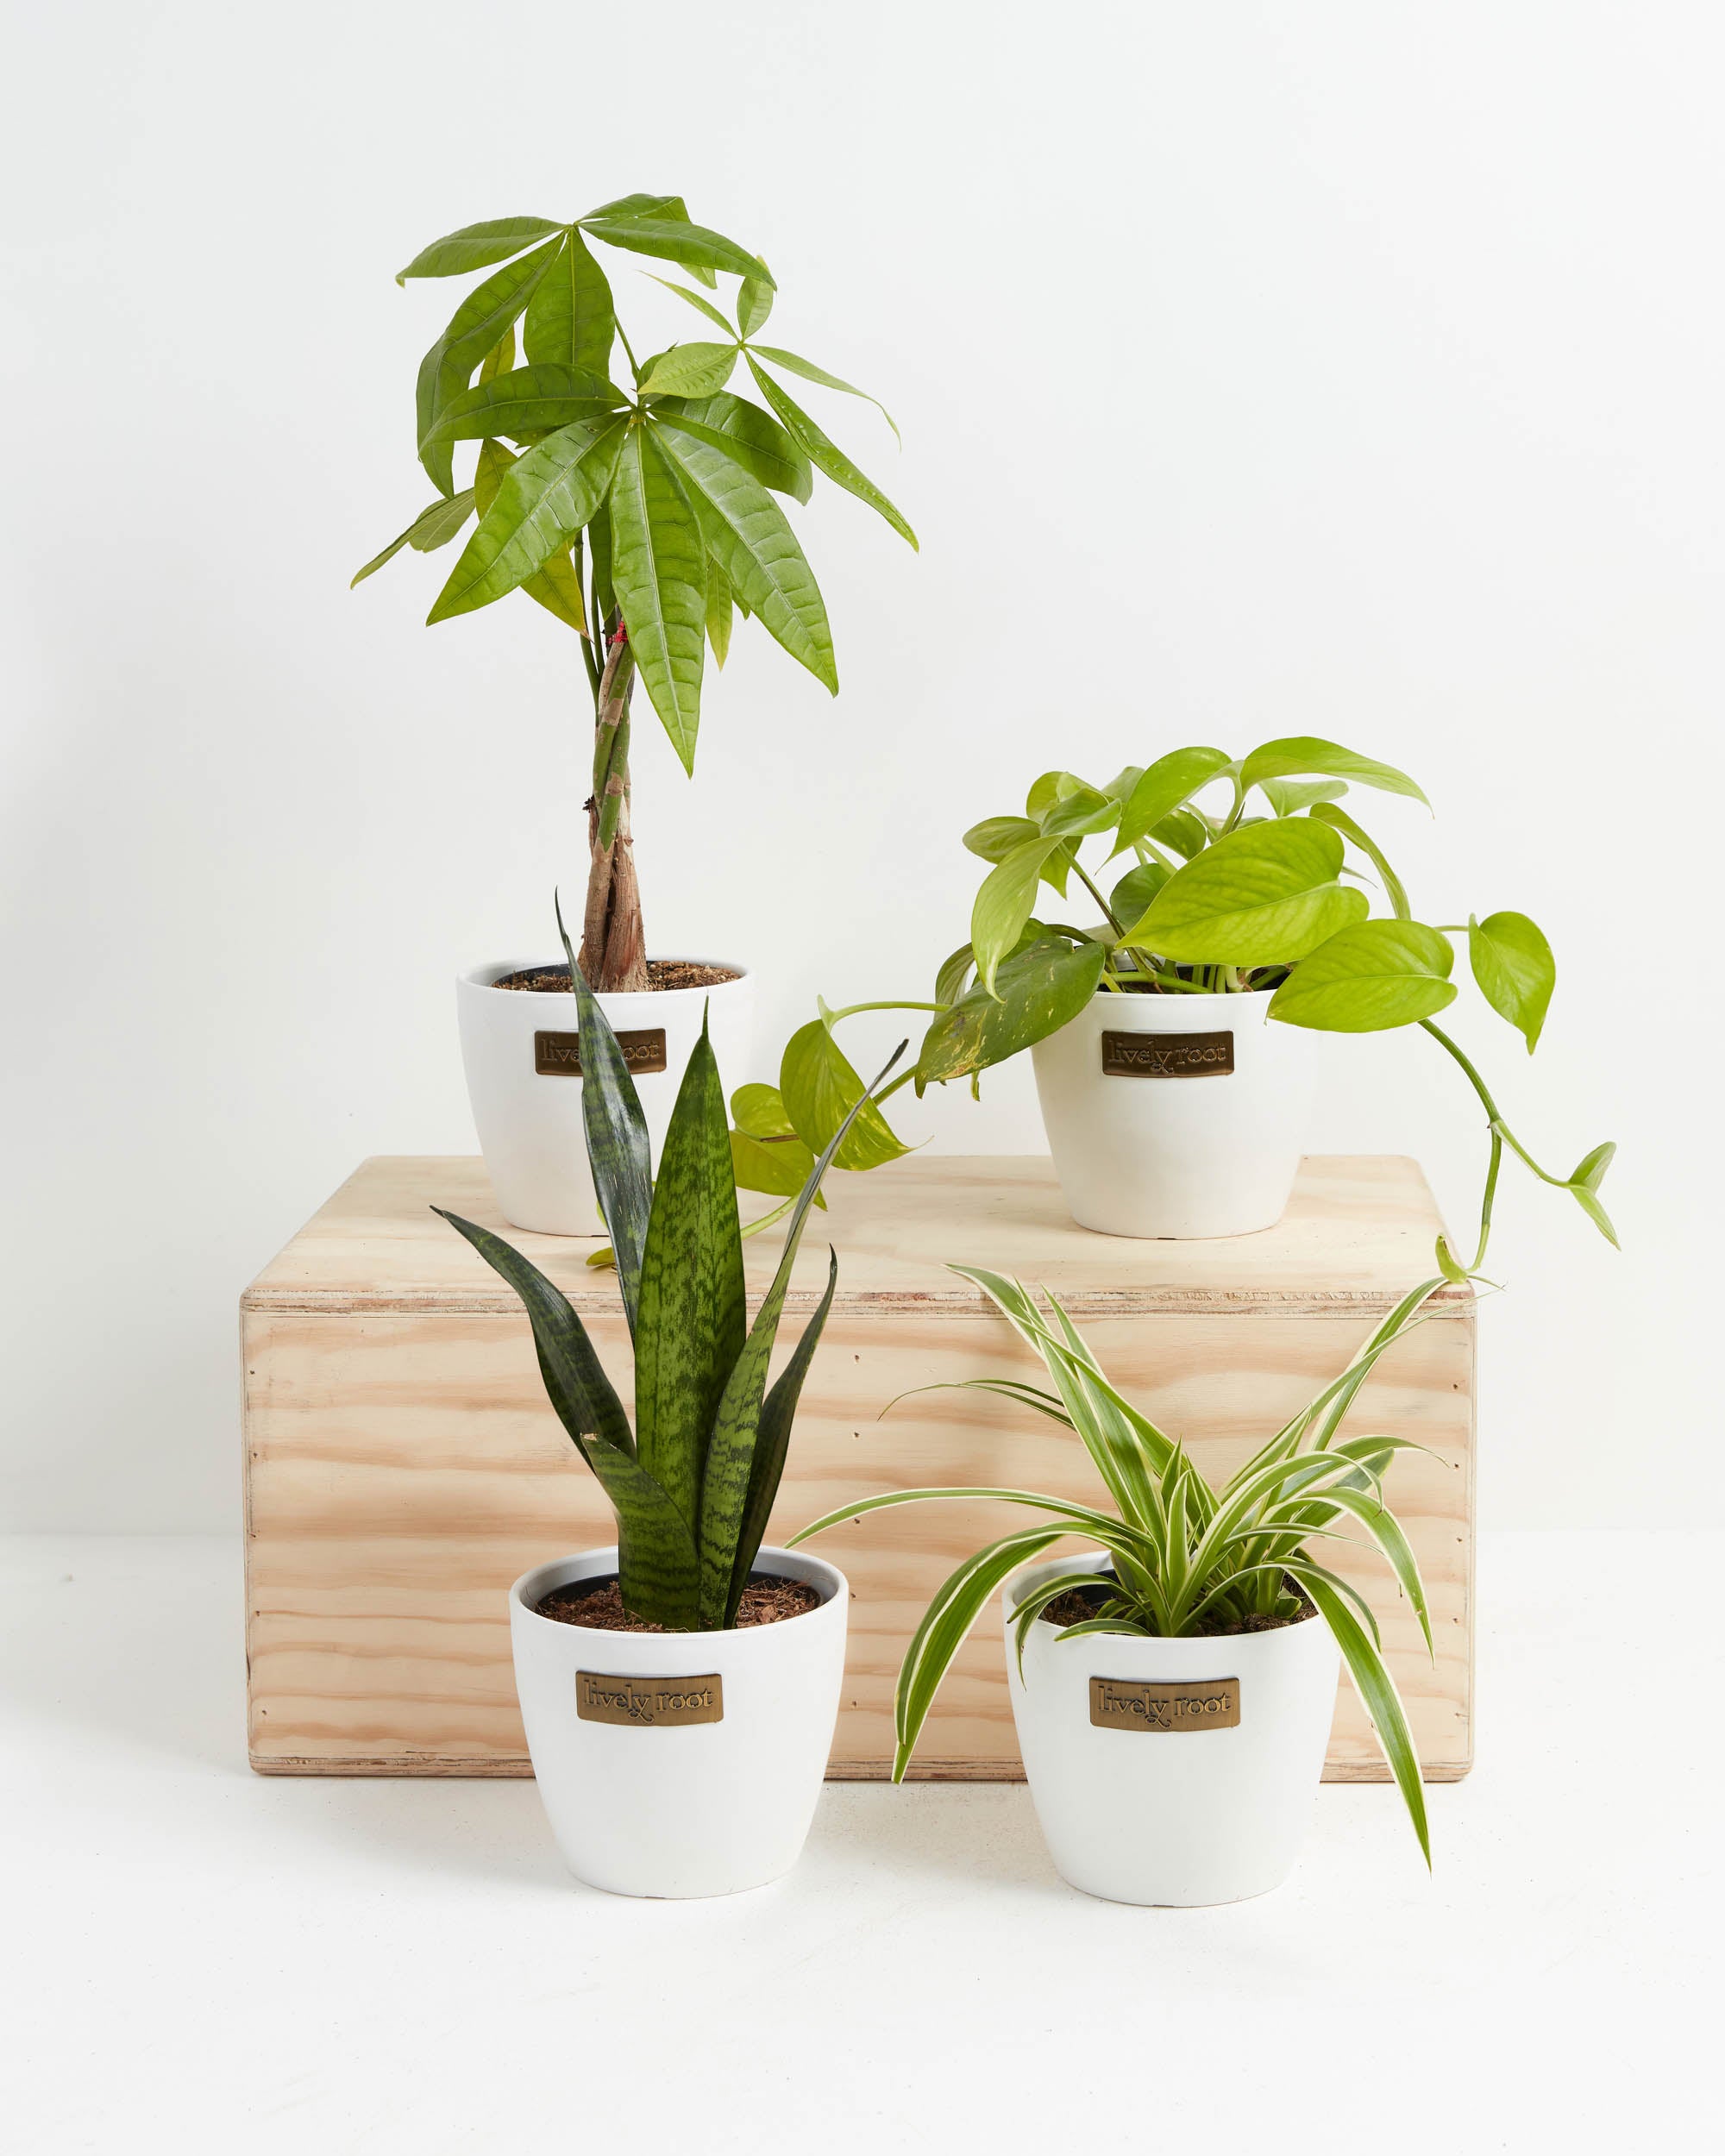
Well, we wanted all those things which is why we created the Jungle Starter Plant Collection. These four plants are not only extremely easy to care for, but they are also our best-selling plants and they can be displayed high and low, creating a jungle effect in any space.
Put all 4 plants in one room for great skin and clean air.
Collection Contains:

These plants prefer low to medium light.
Allow the soil to dry out completely between waterings.
These plants don't require high-levels of humidity.