Heart Leaf Fern Care Guide
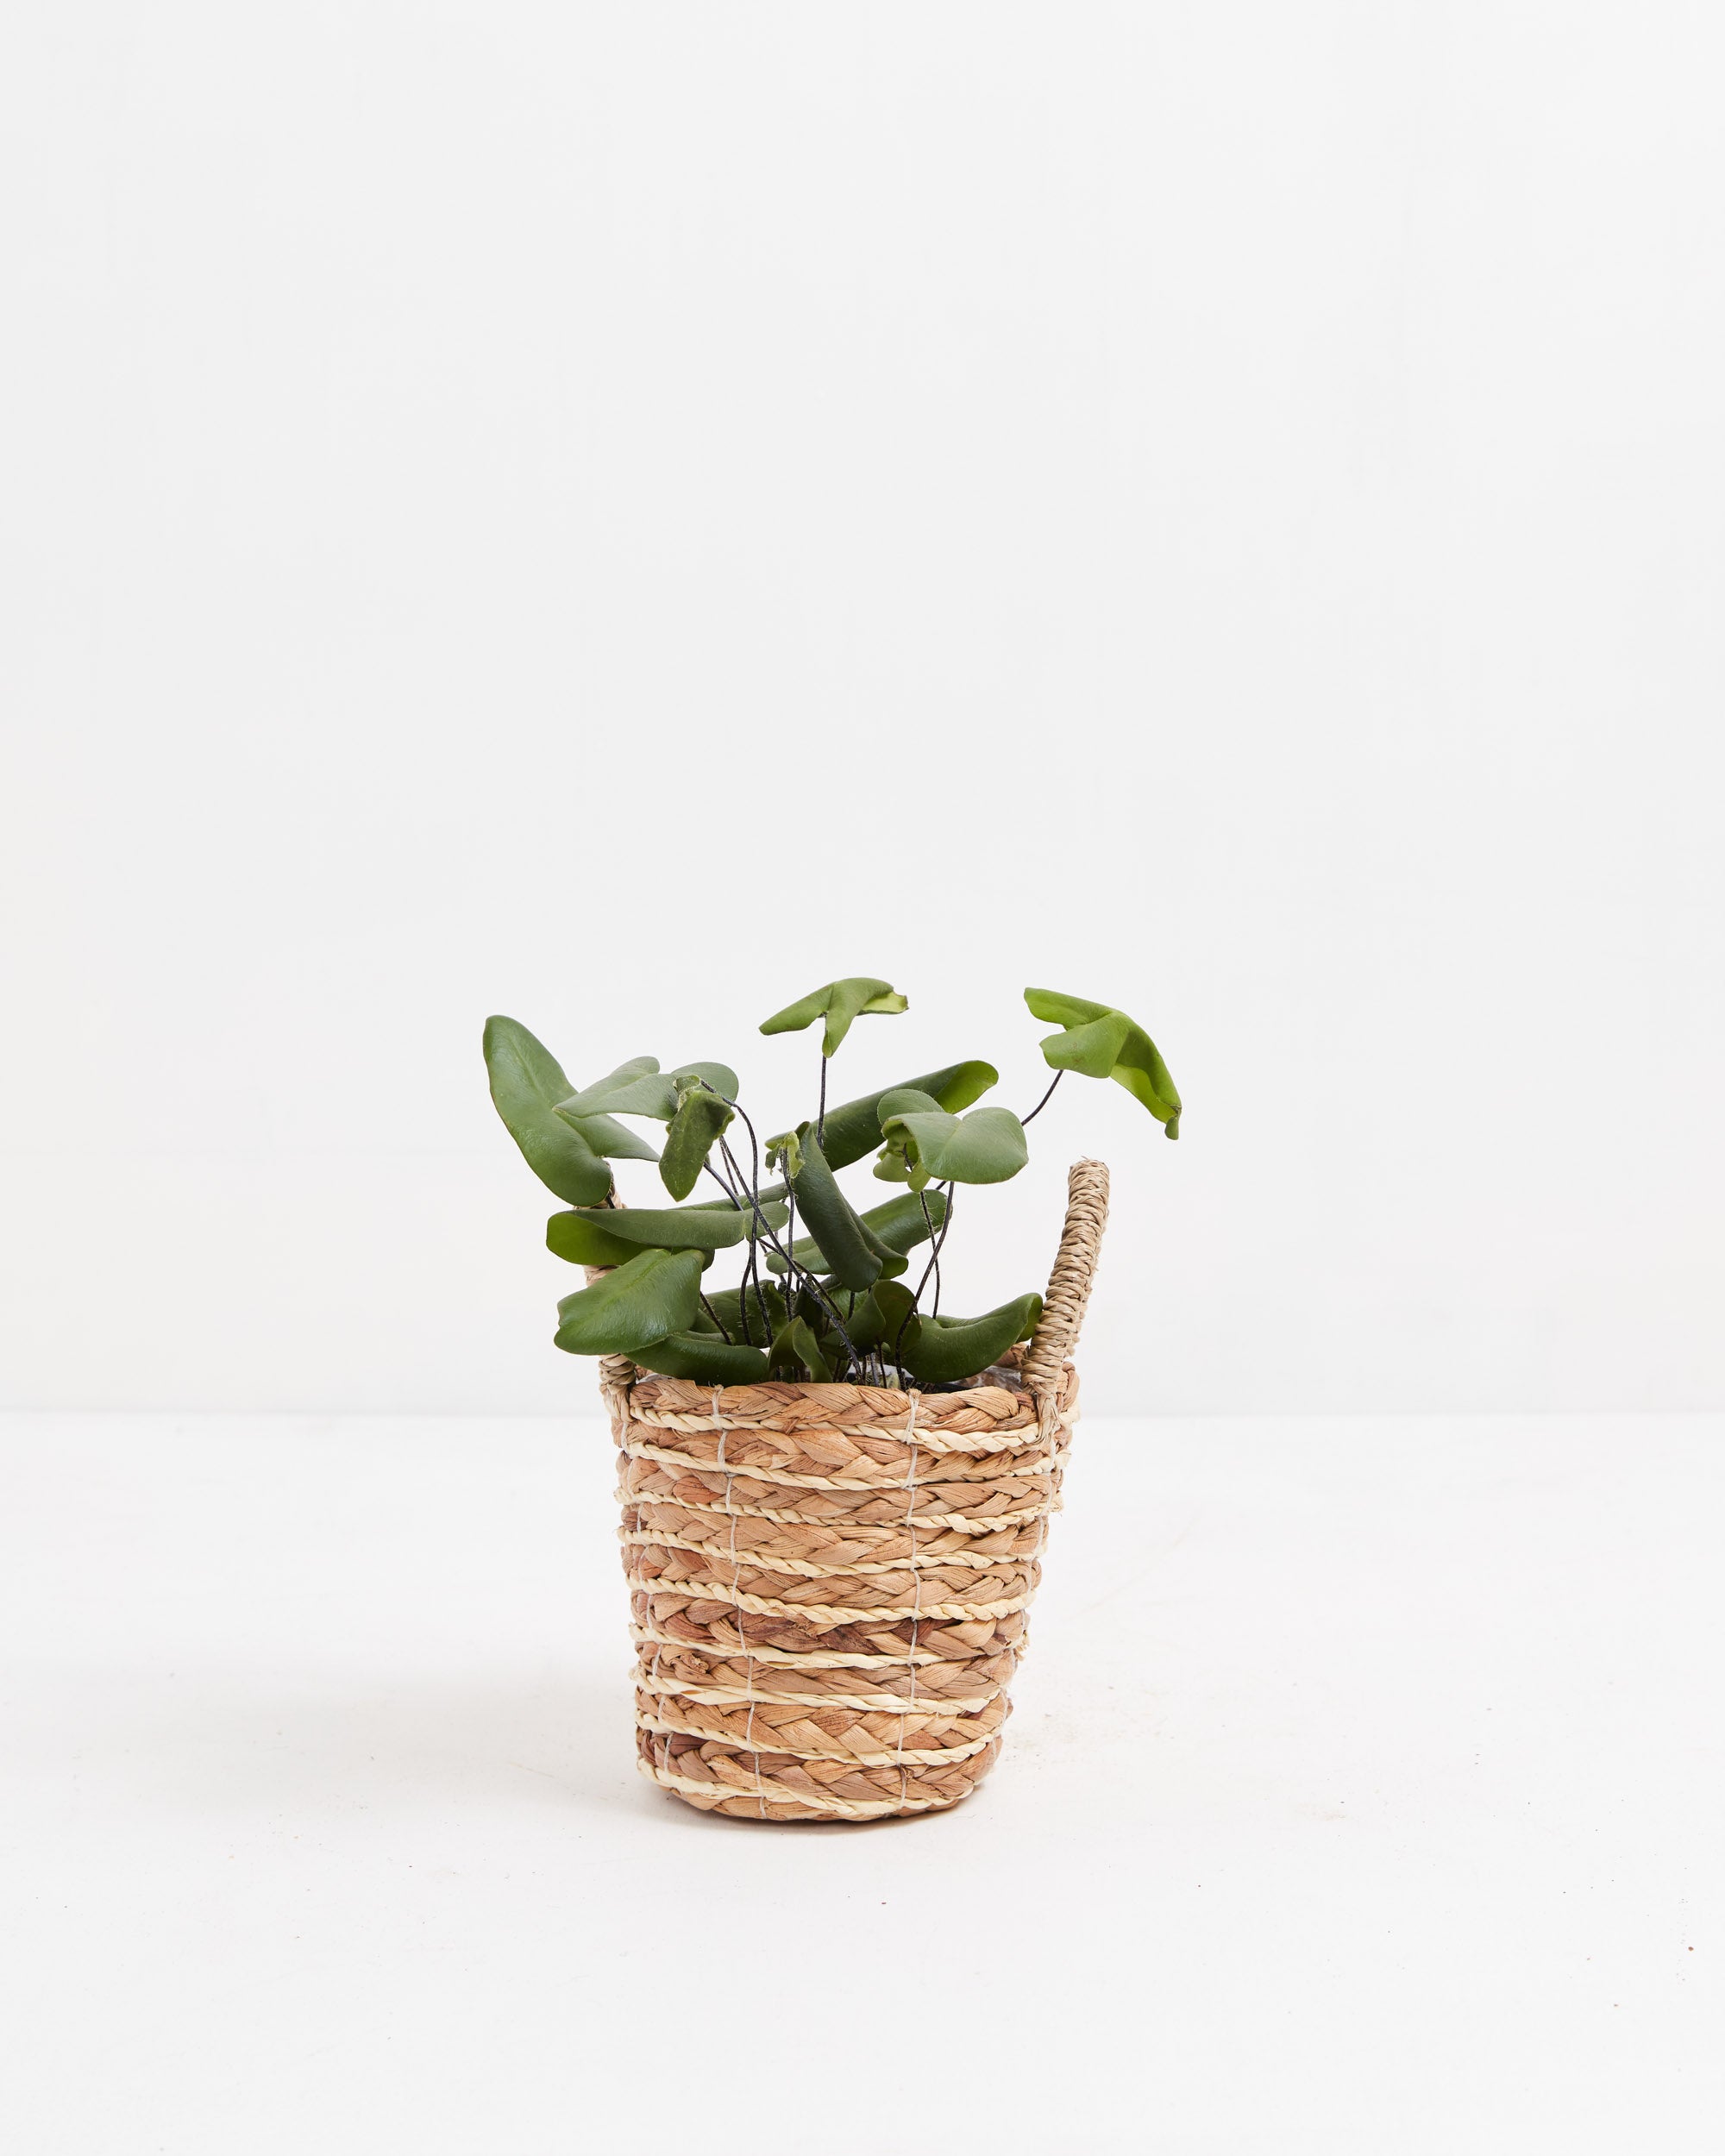
This fern isn’t your usual lacy shape. Instead, their heart-shaped or tongue-shaped leaves have a leathery feel to them.

Indoors: Bright indirect light.
Keep your Heart fern consistently moist but not in soggy soil. Use filtered, bottled, or tap water that is sitting 24 hours to release the chemicals and water enough to discharge out of the drainage holes. Once the water is fully drained, replace them into the cache or decorative pot.
This heart fern enjoys and thrives in 70% humidity.
Warmer room temperatures and adding a humidifier to their surroundings will help them thrive.
This Heart Leaf fern thrives in bright indirect sunlight where temperatures are above 60°F and high humidity.
Apply a balanced, liquid fertilizer especially formulated for indoor plants every month. Apply during the spring, summer, and fall seasons. Let them rest during the winter.
When receiving the Heart Fern, do not repot immediately but wait at least 6-12 months or if the roots are beginning to get crowded and growing through the drainage holes.
Repot in the spring, using a 2 inches bigger pot to give the roots room to spread.
Place a piece of screening at the bottom of the container over the drainage hole to secure the soil and allow to drain. Use a rich, well-draining indoor potting mix amended with 25% compost and to help with fertility.
Water your plant in the old pot before transferring over and let sit an hour.
Add soil to the bottom to elevate the root ball. Lift the plant and release the roots against the existing planter. Use a clean knife or garden trowel to wedge between the pot and the soil to loosen.
Inspect the root ball. Notice if there are any dead or rotting roots and trim off with sterile pruners. If the plant is rootbound, cut through the roots to alleviate continued encircling.
Ensure the plant is sitting about 1 inch below the edge of the pot to avoid water spillage. Add more soil and backfill around the sides by tamping down. Fill up to the soil line but not over.
Water thoroughly, leaving the soil damp but not soggy. If settling occurs, add more soil.
Water well to dampen the soil and let them drain.
If the leaves on your fern dry out or become crispy, trim off the stems down to the base. Keep the base and roots moist and new fronds will form eventually. Place them on a pebble tray to keep the humidity high. Remove any debris on the soil and replenish if necessary.
Propagate and divide your Heart Fern in the spring.
Hydrate the plant the night before.
Pull from the container and brush or wash away the soil carefully around the roots. Carefully divide or cut through the clump with a sterilized knife. Repot the fern in rich, indoor peat-based potting soil Be aware that each new plant needs several leaves with sufficient roots attached.
Use a container 2 inches bigger than the root ball with drainage and deep enough for their roots to grow. Place the plant at the same level as the previous pot adding soil at the bottom.
Water the soil and add more soil if settling occurs.
Set them in medium to bright, indirect sunlight while they are rooting. Place a large, clear plastic bag, spritz with water on the interior and place over the new plant to create a humid environment.
Check the moisture and humidity each day and add misting to keep the soil moist while the roots establish.
After 6-8 weeks, roots will begin to establish. You can tug onto the stem to ensure the roots are anchoring well. Remove the plastic bag but keep the air humid around them with a pebble tray and misting.